July 8, 2026
A home is one of your most significant investments, and keeping it protected starts from the top down. When the time comes to update your property with a fresh layer of protection, understanding the steps ahead can make the entire process smooth and stress-free. This guide outlines what you will experience throughout the journey of upgrading your home with the help of a qualified residential roofer.
Preparing Your Property for Construction
The journey begins well before the first shingle is removed from your house. Your selected residential roofer will usually advise you on how to prepare your property to ensure a safe and efficient workspace. You should start by clearing your driveway and moving vehicles away from the house because crews will need immediate access for large delivery trucks and heavy equipment. It is also wise to remove fragile items from your patio, deck, or yard, such as potted plants, patio furniture, and garden decorations.
Because the process involves a significant amount of pounding on your roof structure, vibrations can travel down through the walls of your home. Homeowners are encouraged to protect their interior living spaces by removing hanging picture frames, mirrors, and loose decorations from shelves. If you have an open attic space, covering stored seasonal items with plastic tarps can prevent falling dust and small bits of debris from settling on your belongings. Communicating with your immediate neighbors about the upcoming project dates is also highly beneficial, as it gives them time to adjust to the temporary increase in noise and activity around the neighborhood.
Managing the Project Timeline Effectively
Homeowners naturally want to know exactly how much time the construction process will require from start to finish. According to This Old House, replacing a roof can take one day to a week or longer, depending on the scope of the job, the roof size, the availability of materials and workers, and the time of year. Understanding these variables will help you set realistic expectations for your daily routine.
Weather plays a major role in how smoothly the timeline progresses. Sudden rainstorms or unexpected high winds can cause immediate delays, as crew safety and keeping your home dry are the top priorities during construction. Additionally, a home with intricate architectural features, steep slopes, or multiple valleys will inherently require more careful attention and time than a straightforward, flat surface. By maintaining open lines of communication with your project supervisor, you can stay informed about daily progress and any adjustments made to the schedule due to external elements.
Tearing Down the Existing Materials Safely
Once construction day officially arrives, the crew will begin by setting up a secure perimeter around your house, often using heavy tarps to protect your landscaping, siding, and delicate bushes. The first active phase of construction involves the complete removal of your old shingles and underlayment down to the bare wood. An experienced residential roofer manages this phase systematically, working section by section to avoid exposing the entire interior structure to the elements all at once.
This phase is typically the loudest and most chaotic part of the entire process. Large trash containers or specialized dump trucks will be positioned near the roofline so workers can discard old materials quickly. As old layers are torn away, thousands of old nails and shingles will slide down into the collection zones. While the protective tarps catch the vast majority of this debris, you should expect a busy environment with a high volume of noise as the old system is stripped away completely.
Inspecting the Underlying Roof Decking
After the old materials are fully removed, the crew is left with a clear view of the wooden structural decking below. This stage is crucial because a durable new roof cannot be built on top of a compromised foundation. This is why an expert residential roofer examines the decking carefully to identify soft spots, water damage, rot, or broken boards that might have been hidden from view for years.
If the crew discovers damaged plywood or oriented strand board, those specific sections must be removed and replaced with fresh wood. Skipping this inspection step could cause structural failure later, since new shingles require a sturdy, dry surface to hold fasteners securely. While replacing rotted wood can add a minor cost to the initial estimate, fixing these hidden flaws ensures your home remains safe from structural sagging and interior leaks for decades to come.
Applying the New Roofing System Components
With a stable and fully repaired wooden deck in place, the crew can begin installing the brand-new protection system. This process is not just about laying down shingles; it involves a complex layering of multiple defensive products designed to shed water and resist high winds. Workers will first apply an ice and water shield along the most vulnerable areas, such as the eaves, valleys, and around chimneys, followed by a heavy synthetic underlayment across the remaining surface area.
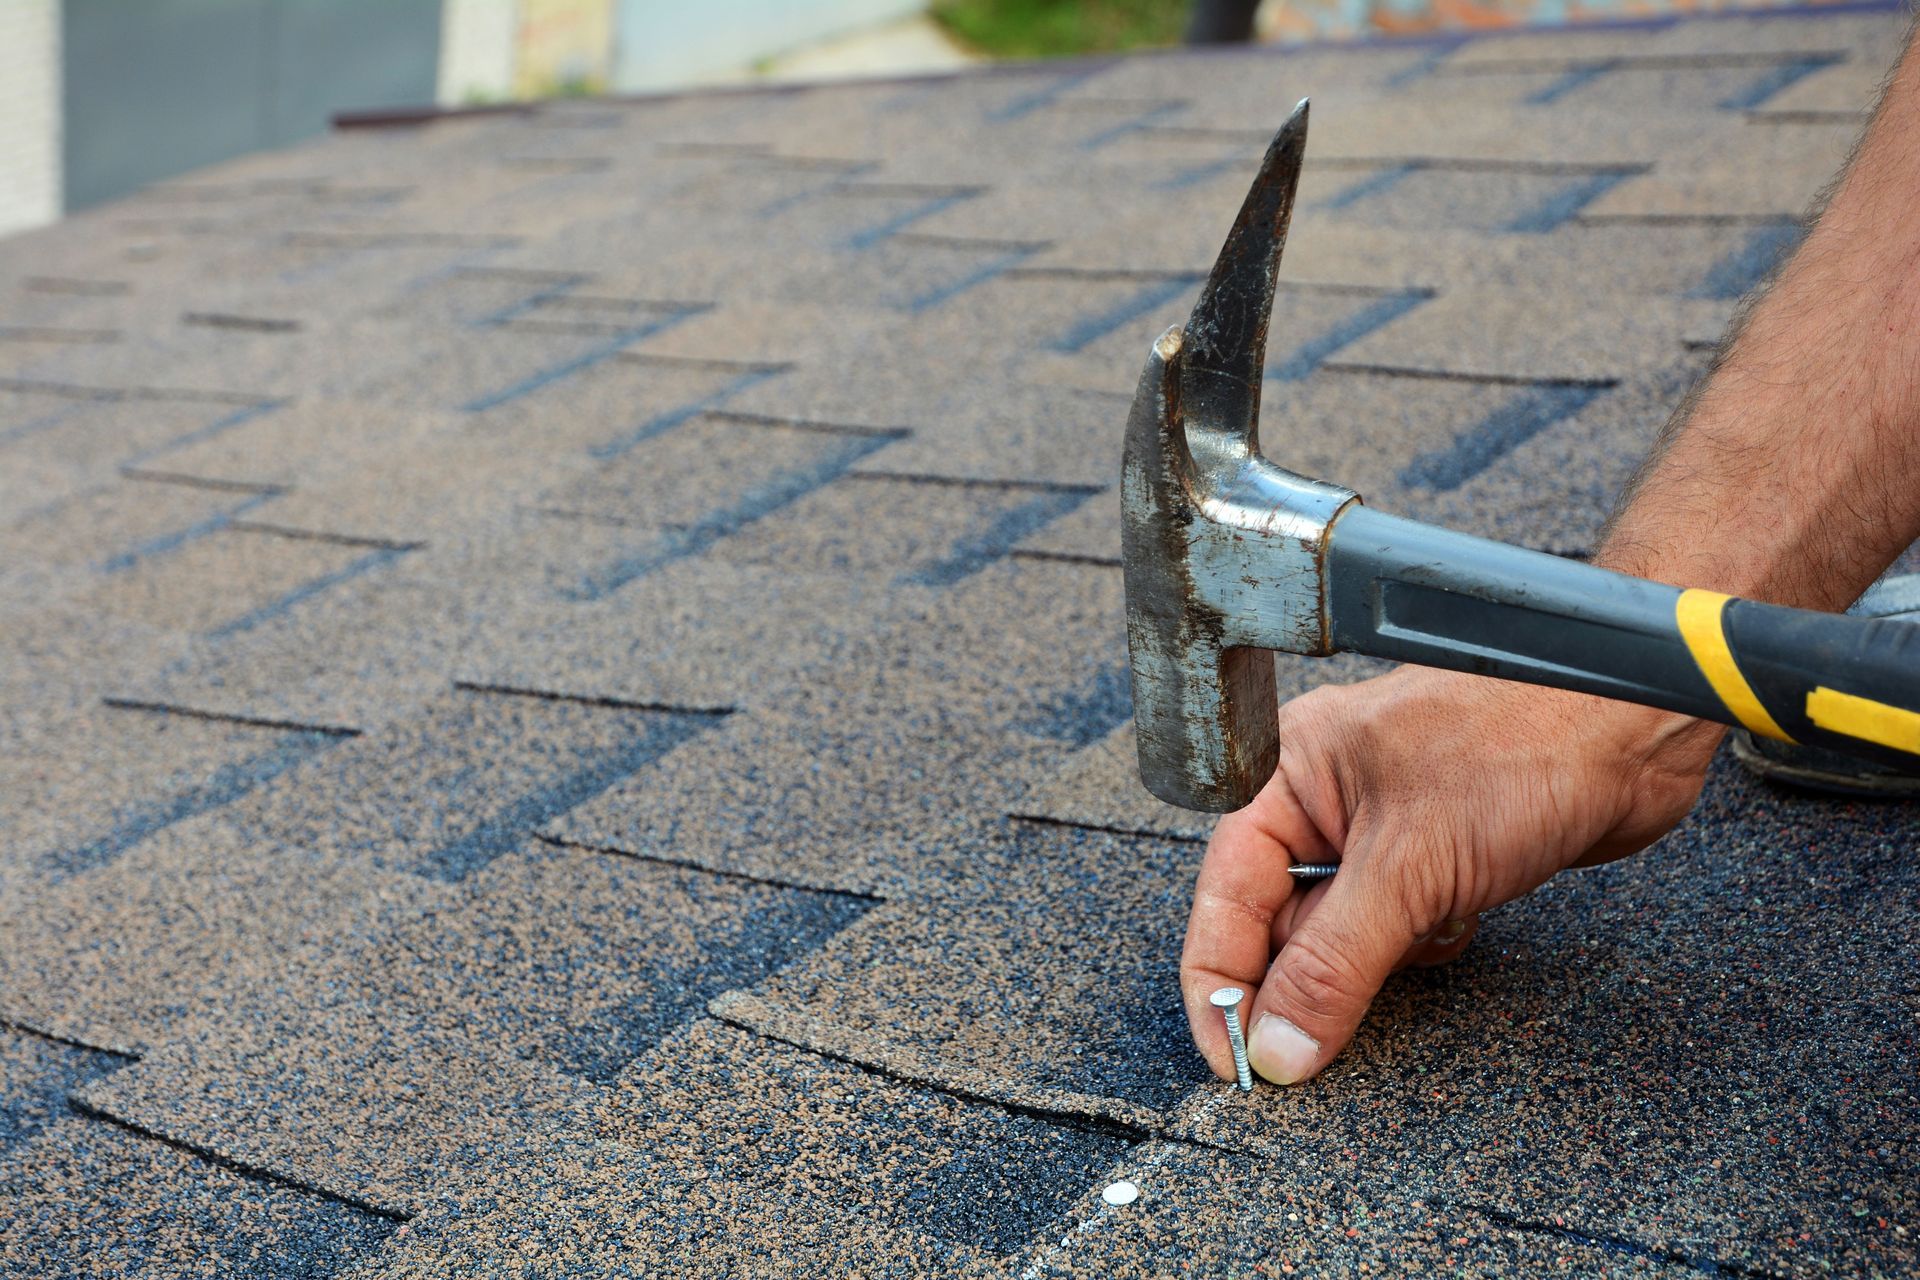
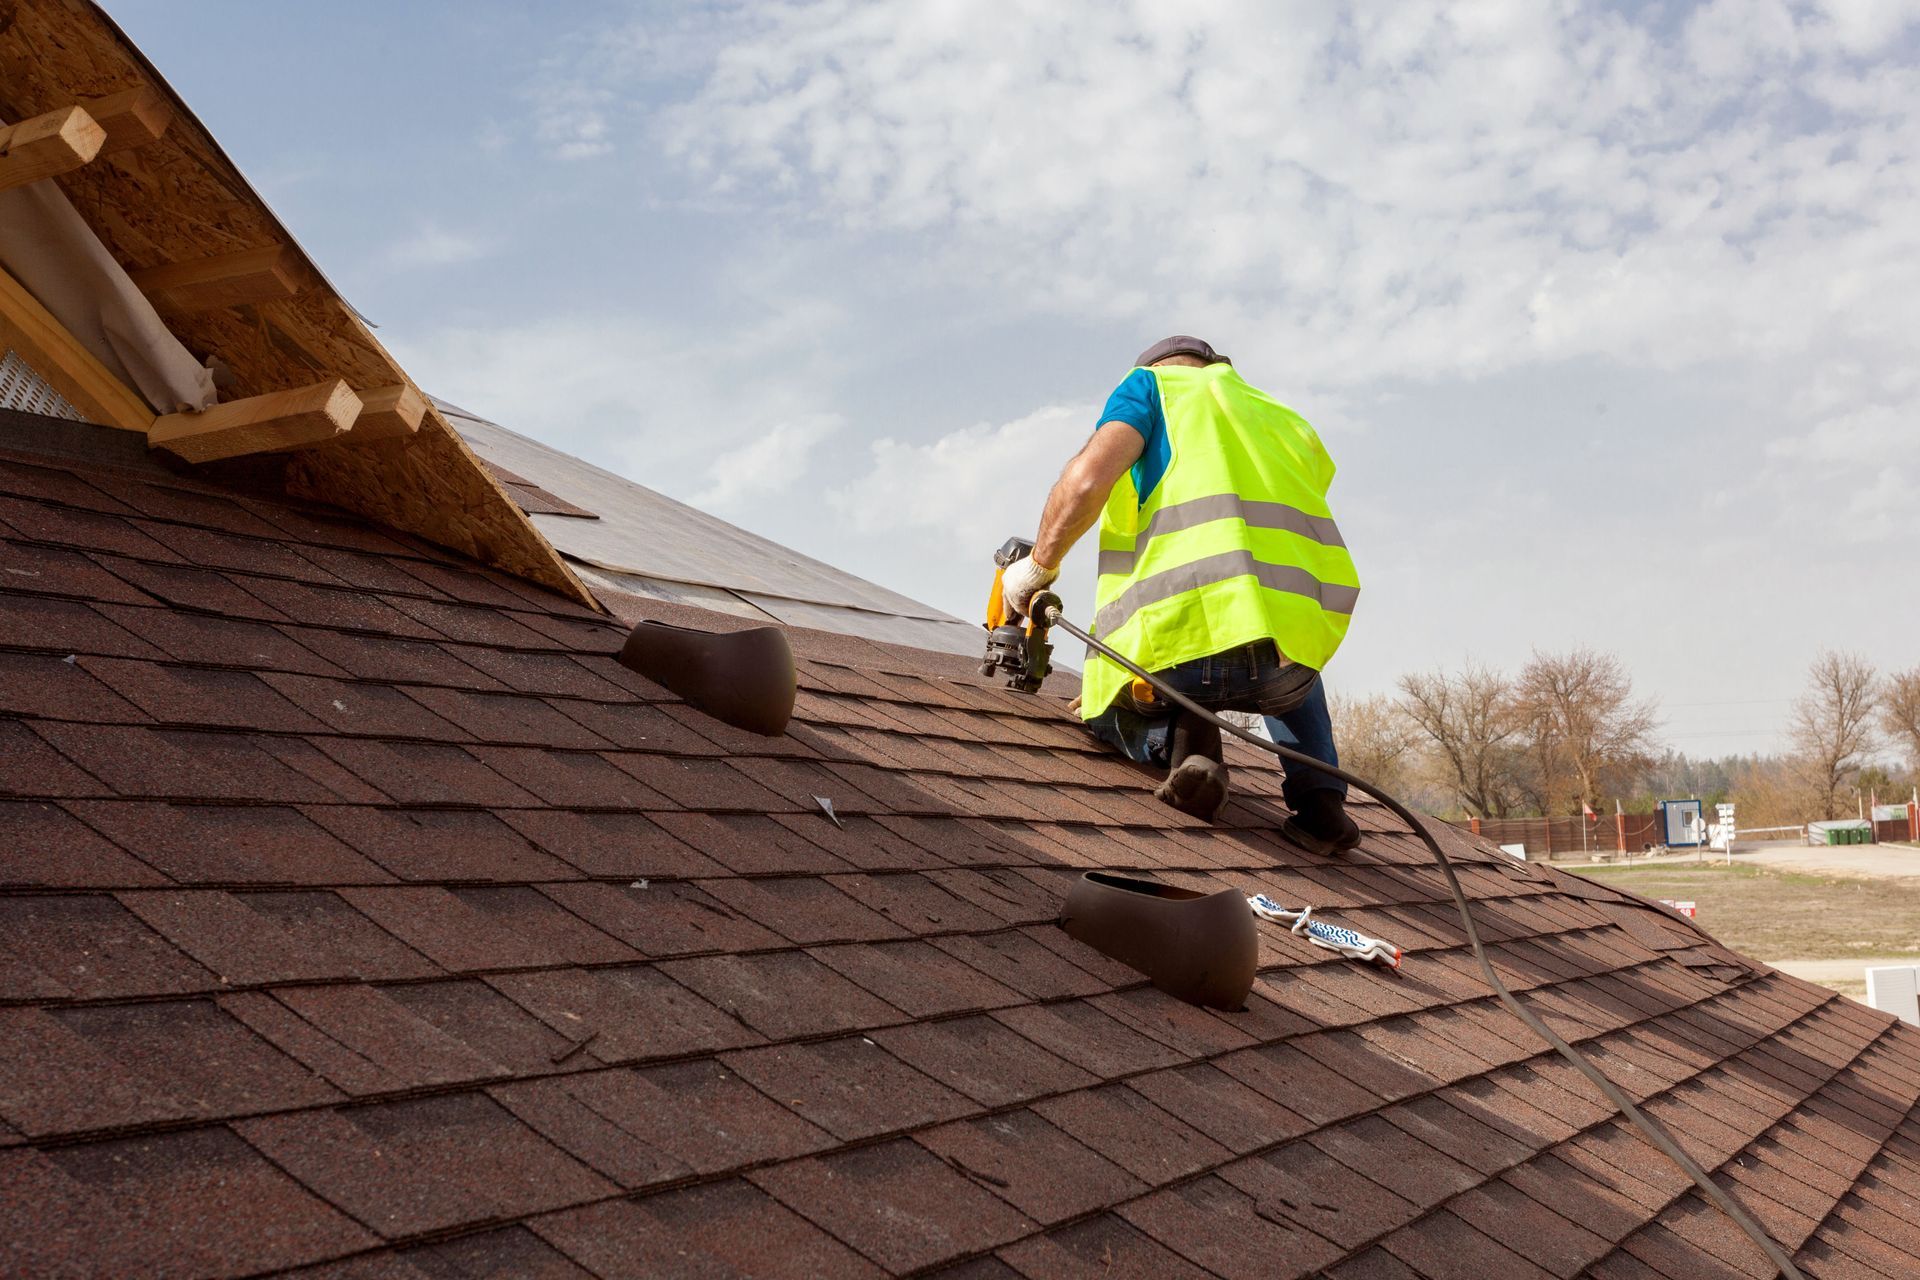
Next comes the installation of metal flashing in valleys and around vertical walls, which prevents water from seeping into junctions. A reliable residential roofer ensures every layer is securely fastened according to precise manufacturer specifications. Finally, the main roofing material, such as traditional asphalt shingles or specialized architectural shingles, is laid down from the bottom edge upward. During this phase, workers will also inspect and update your attic ventilation system, installing ridge vents or new roof vents to allow proper airflow and prevent heat buildup in the summer.
Clearing the Debris and Waste Material
The construction work is not finished until your yard looks exactly the way it did before the crew arrived. After the last ridge cap is nailed down, the crew shifts their full focus to cleaning up the property, gathering discarded materials, wrapping up tarps, and picking up stray plastic wrappers. Finally, the residential roofer conducts a comprehensive sweep of your entire property using specialized magnetic rollers designed to pull hidden metal nails out of your grass, gardens, and driveway.
A thorough post-job inspection is then conducted alongside the homeowner to ensure complete satisfaction. The project lead will review the completed work, explain how the new ventilation components function, and answer any final questions you might have about your warranty. This final step gives you complete peace of mind, knowing that your property is safe for children and pets and that your home is fully protected against the elements.
Discovering Comprehensive Exterior Remodeling Services
While upgrading your roof is a massive step forward in protecting your home, it is often the perfect time to evaluate other areas of your home's exterior that work in harmony with your new roof system. For instance, installing new gutters during a roof replacement ensures that rainwater is directed away from your foundation efficiently, preventing ground erosion and basement moisture issues. New gutters also protect your fresh roofline from premature water damage caused by overflow or clogged channels.
If you suspect your home needs professional attention due to recent storm damage, or if your shingles are simply reaching the end of their natural lifespan, our local family-owned team is here to guide you through every phase with honest, straightforward recommendations. From minor roof repairs and comprehensive storm damage insurance claims to full residential and commercial roof installations, we prioritize transparent communication and flawless craftsmanship. Contact Legacy Contracting Group, Inc today to schedule your pressure-free inspection and take the first step toward securing your home for the future.